


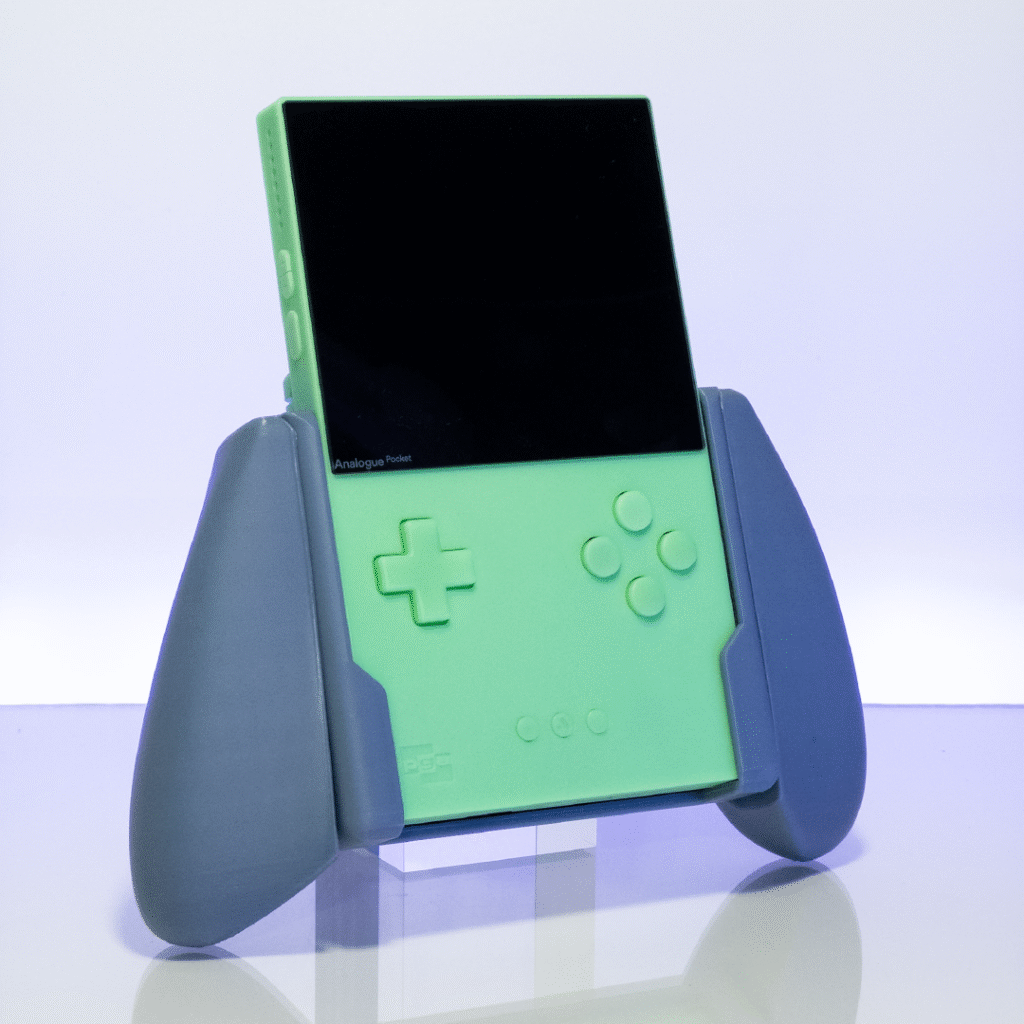
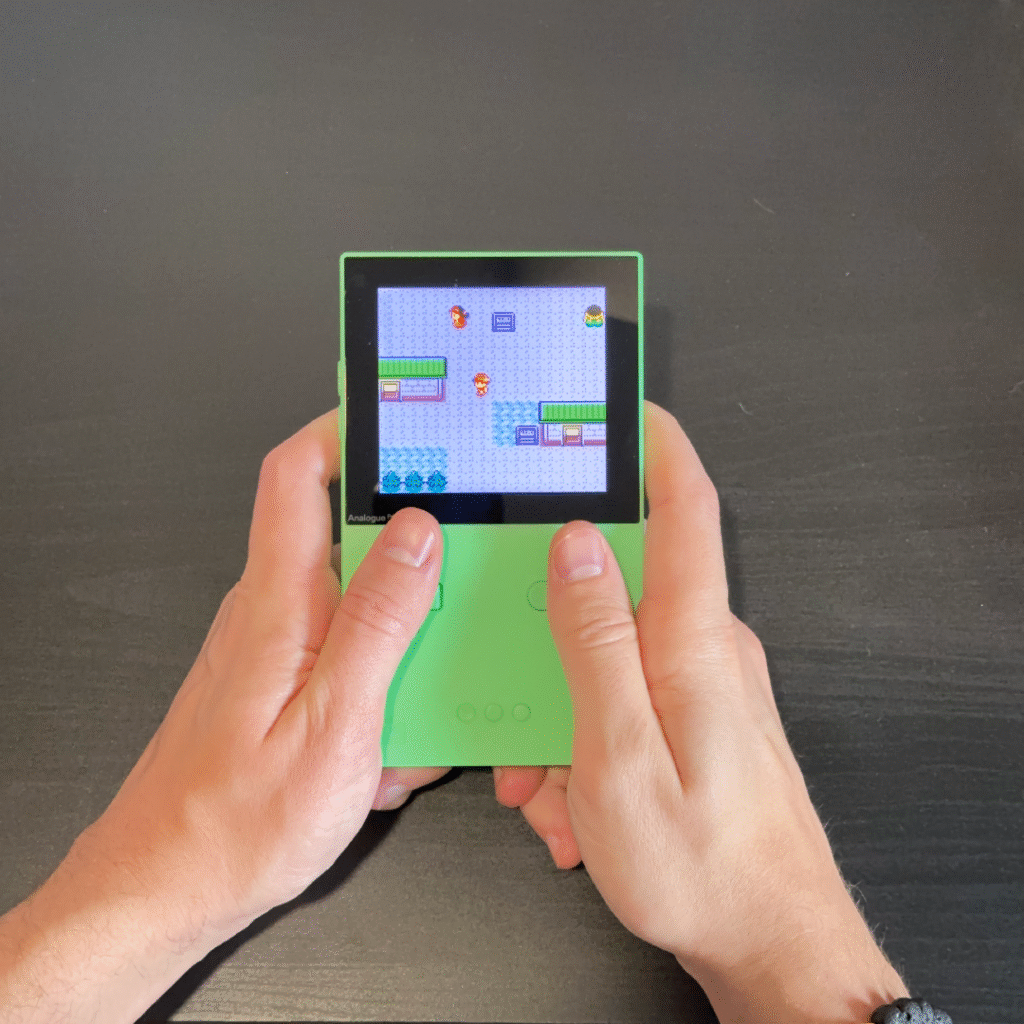
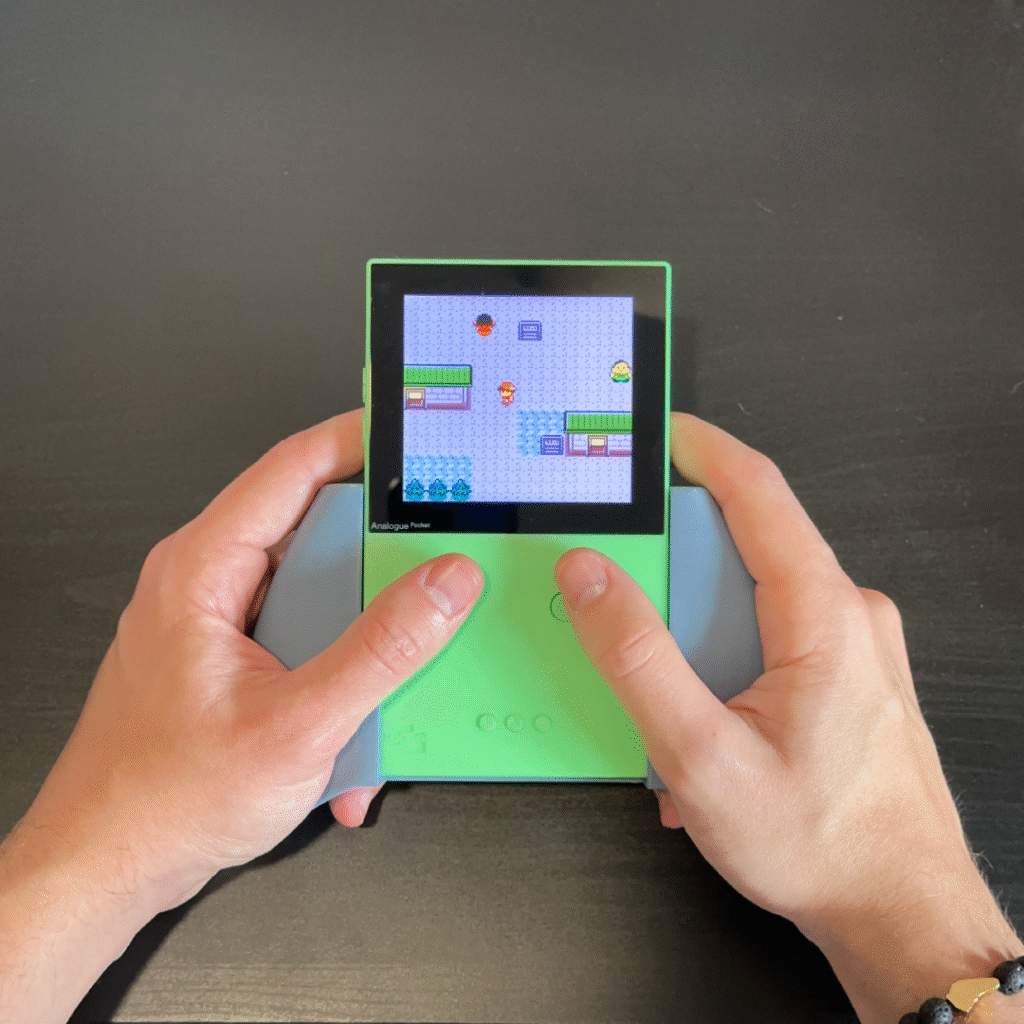
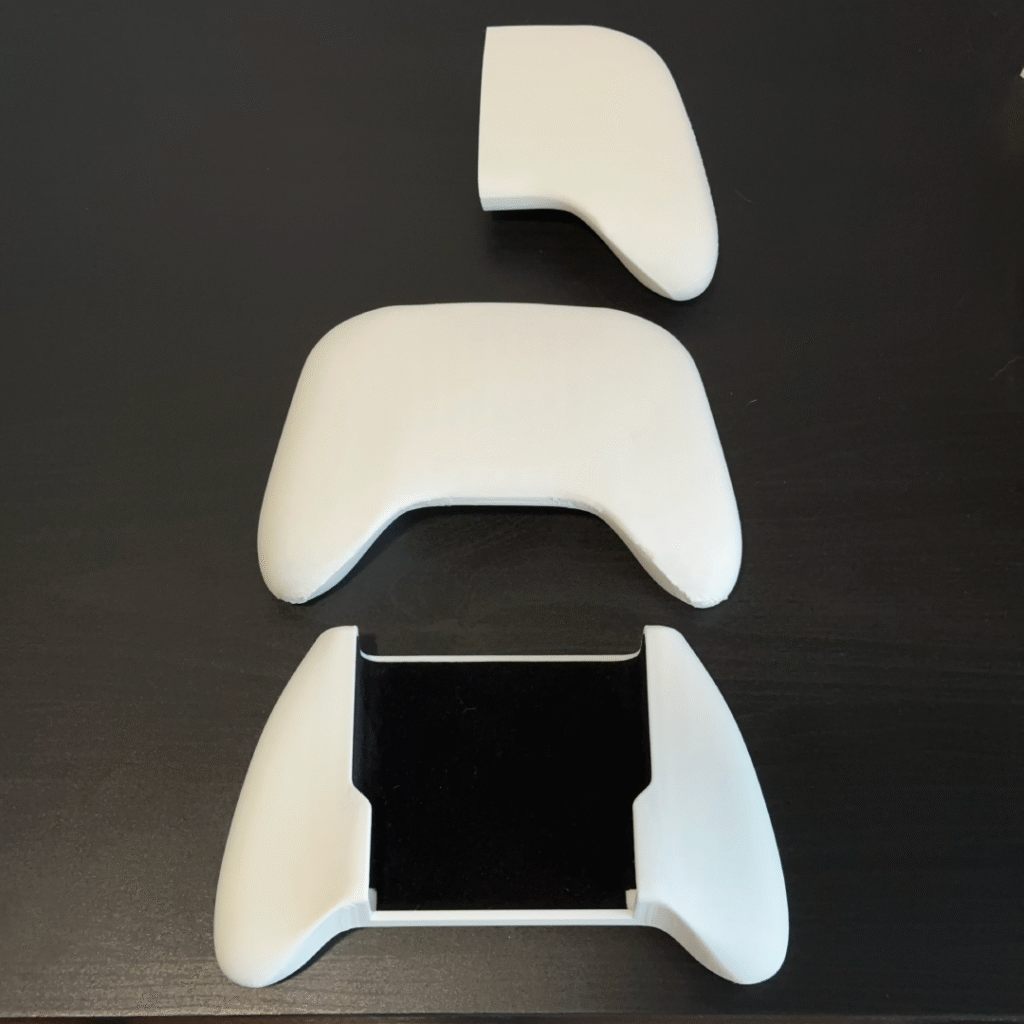
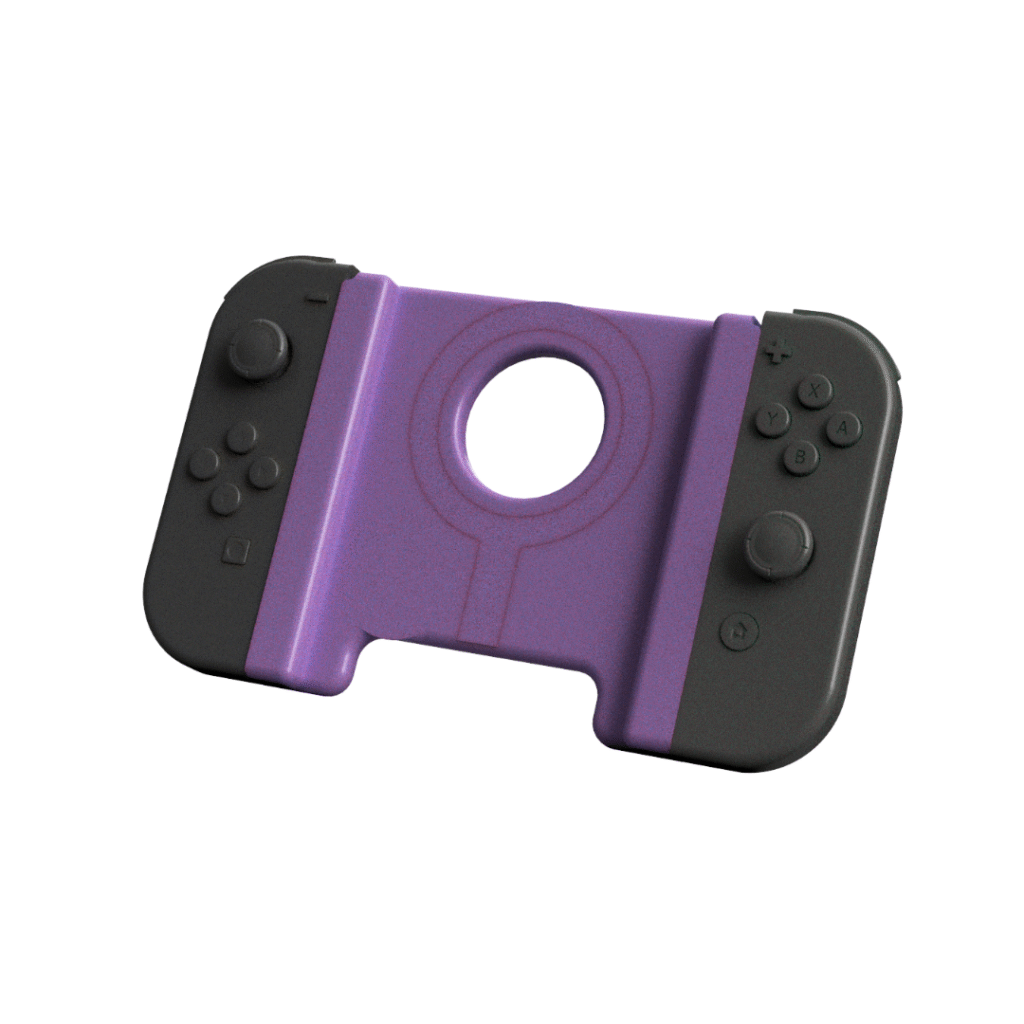
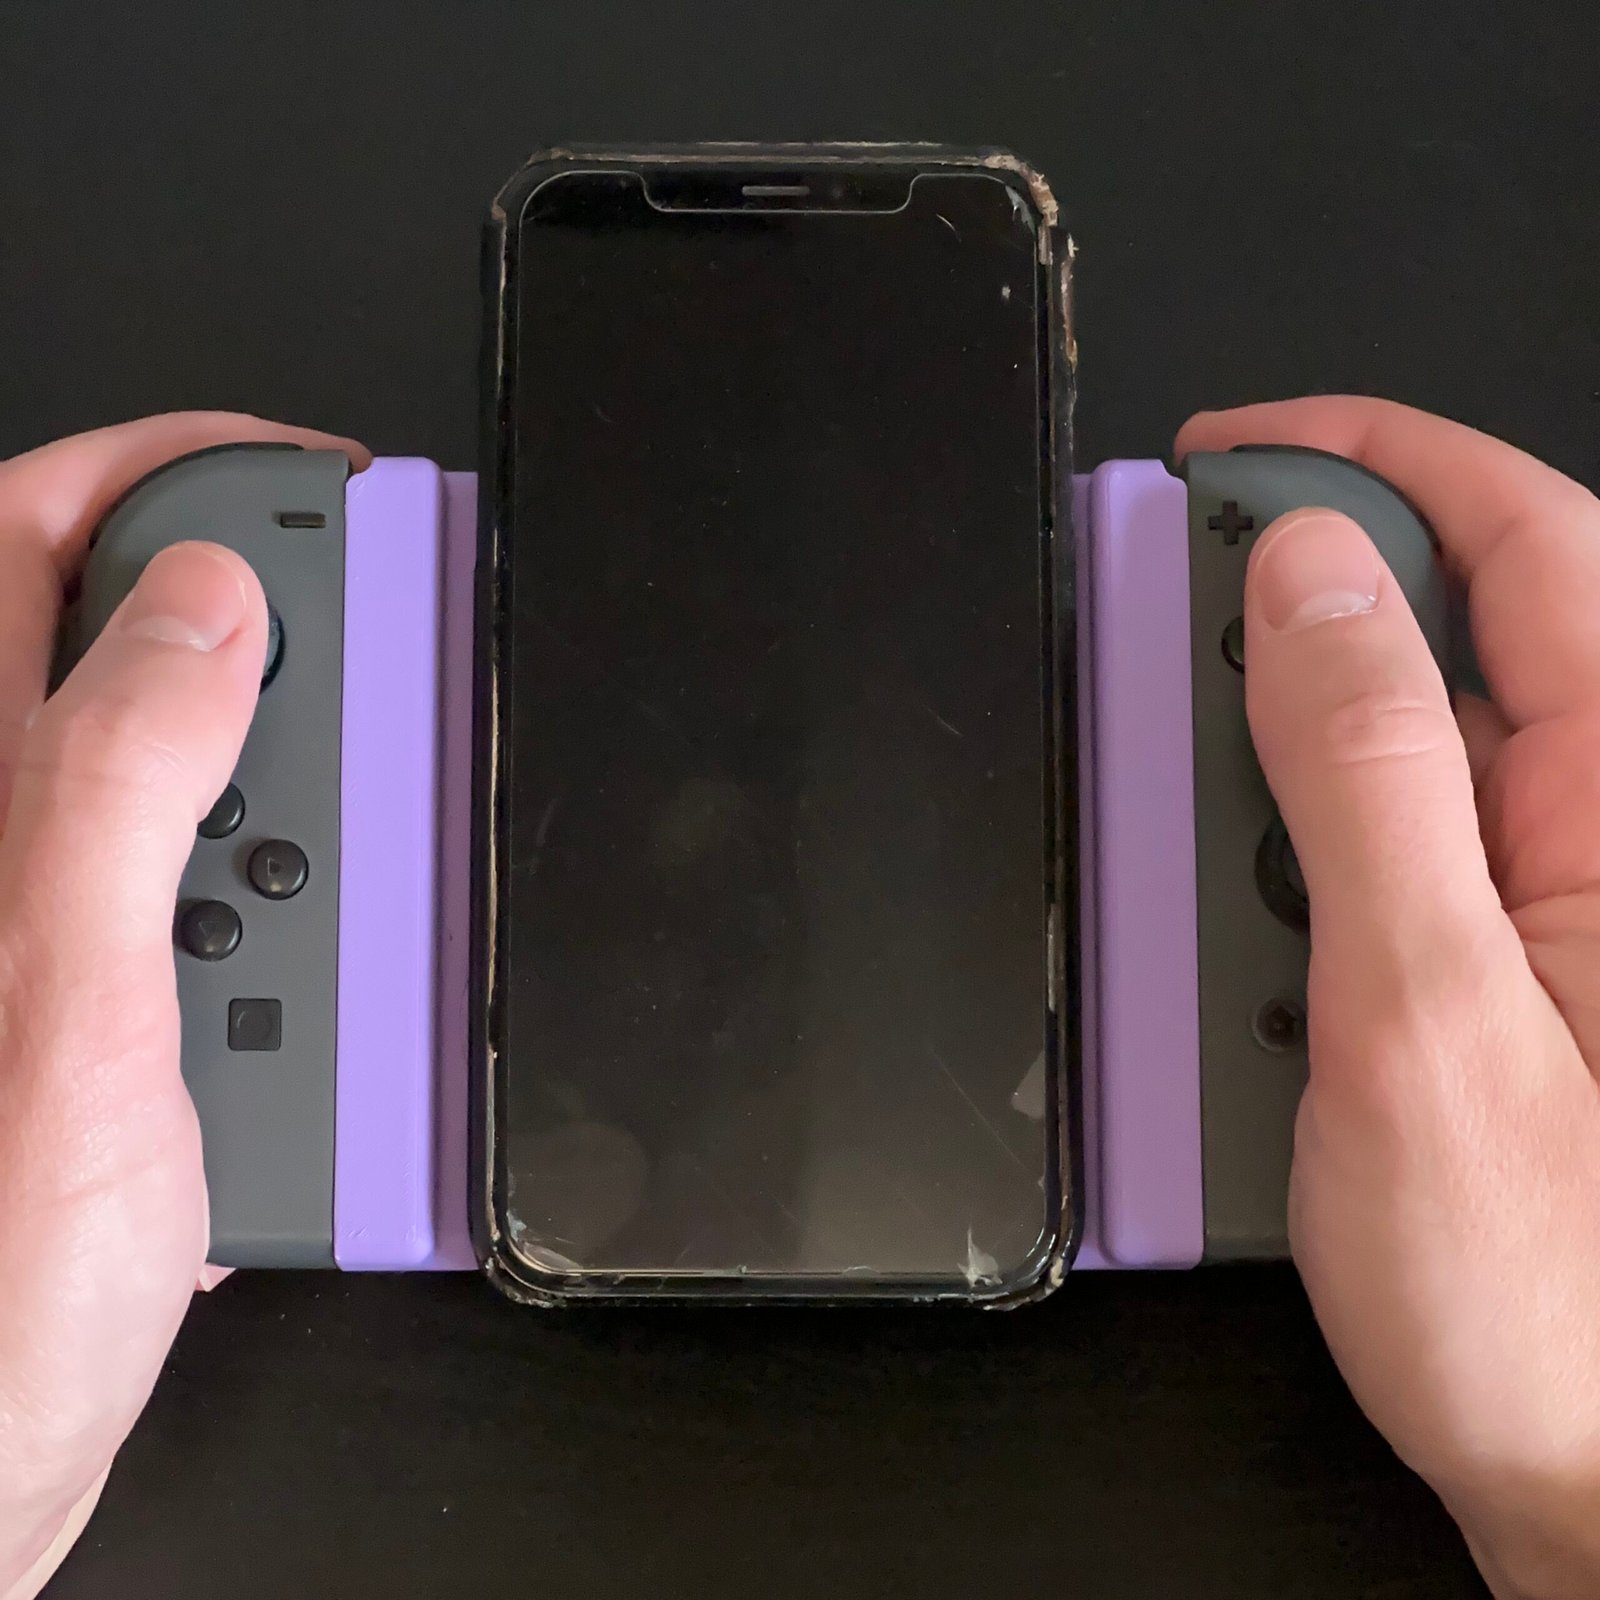
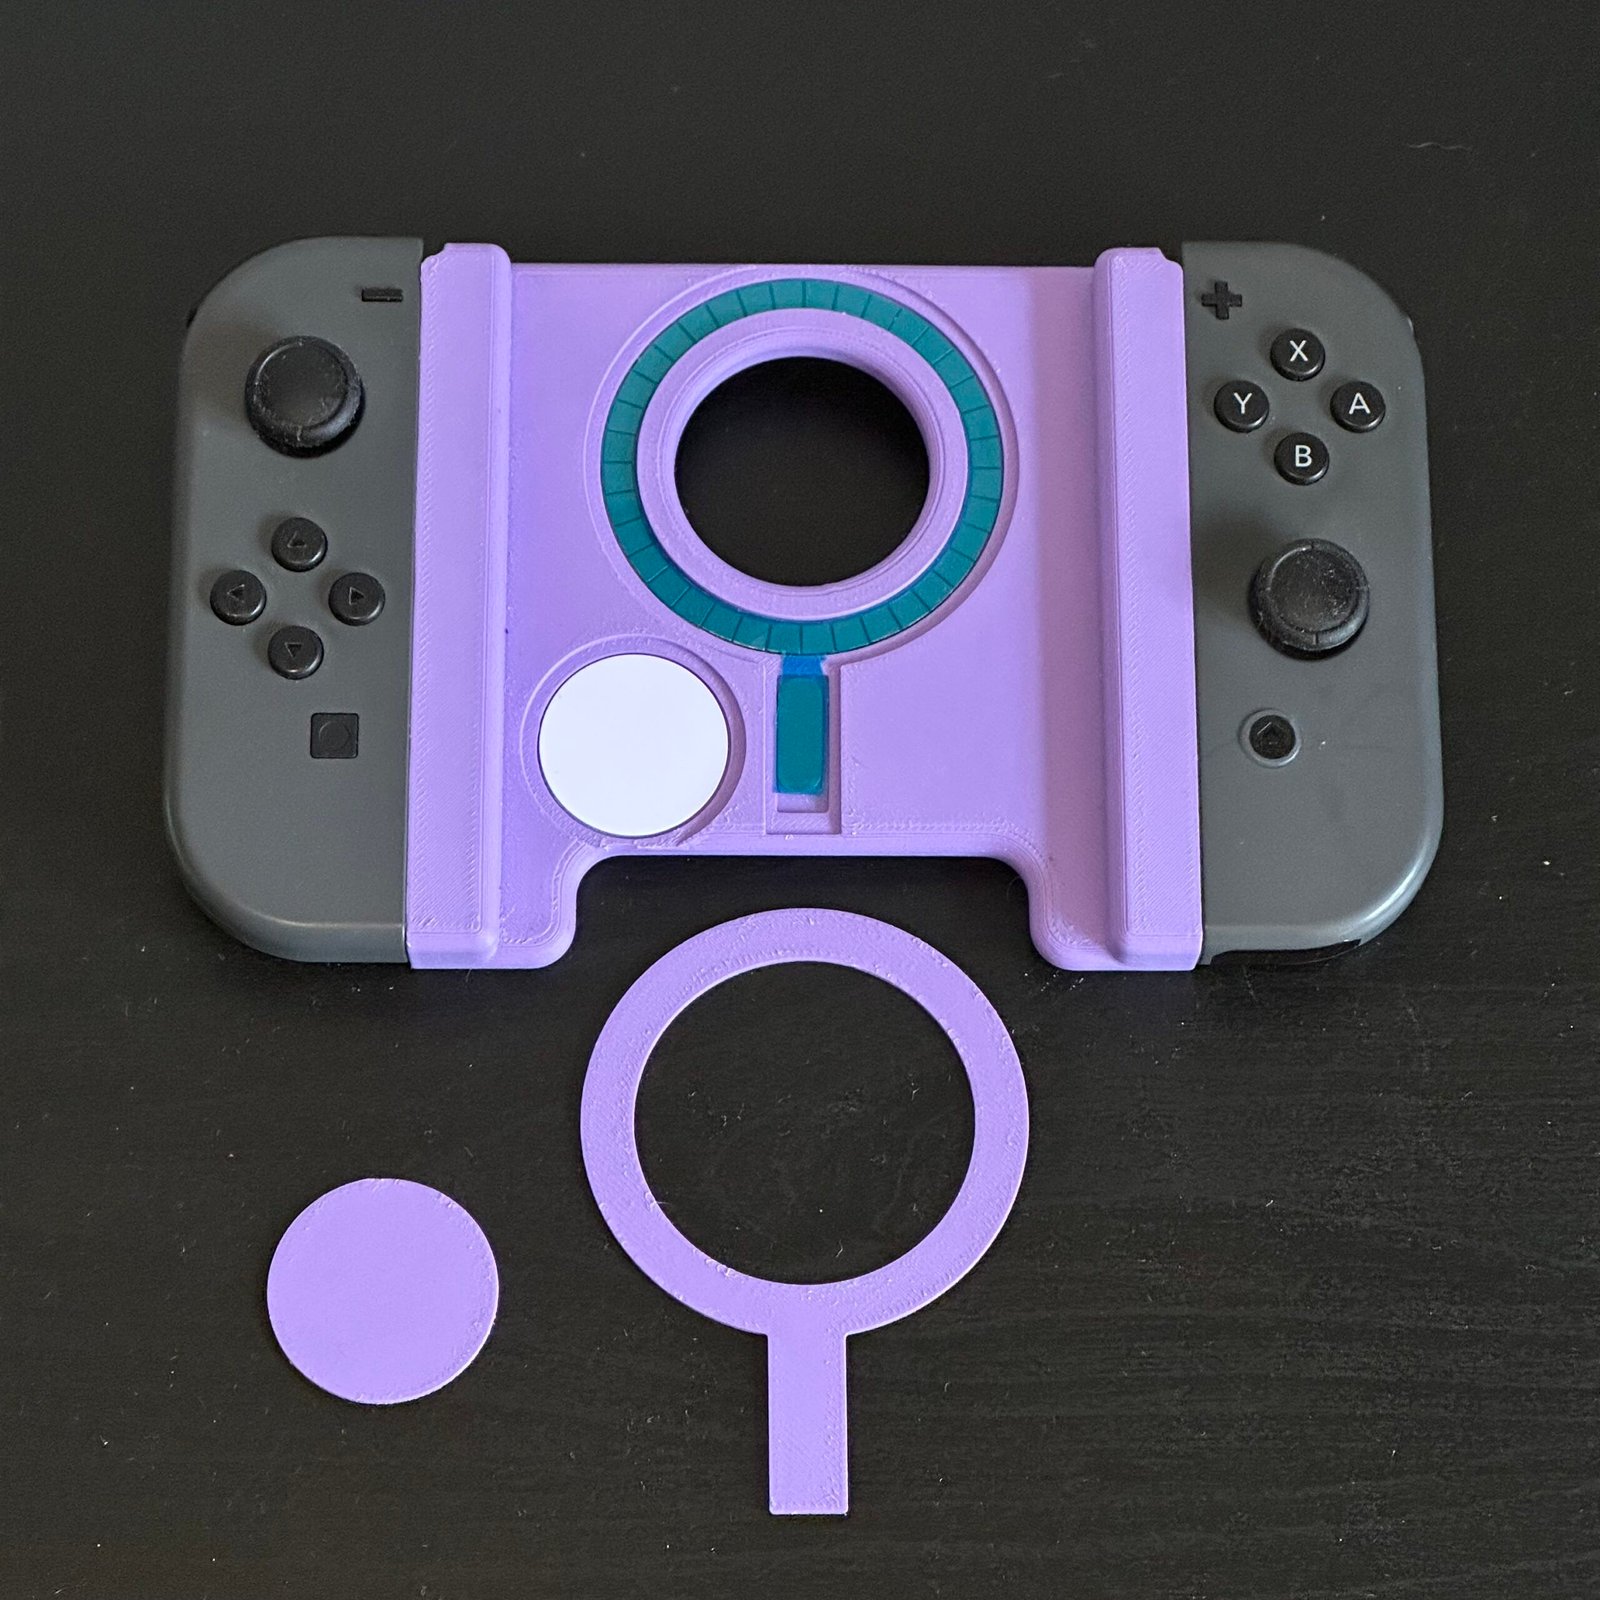
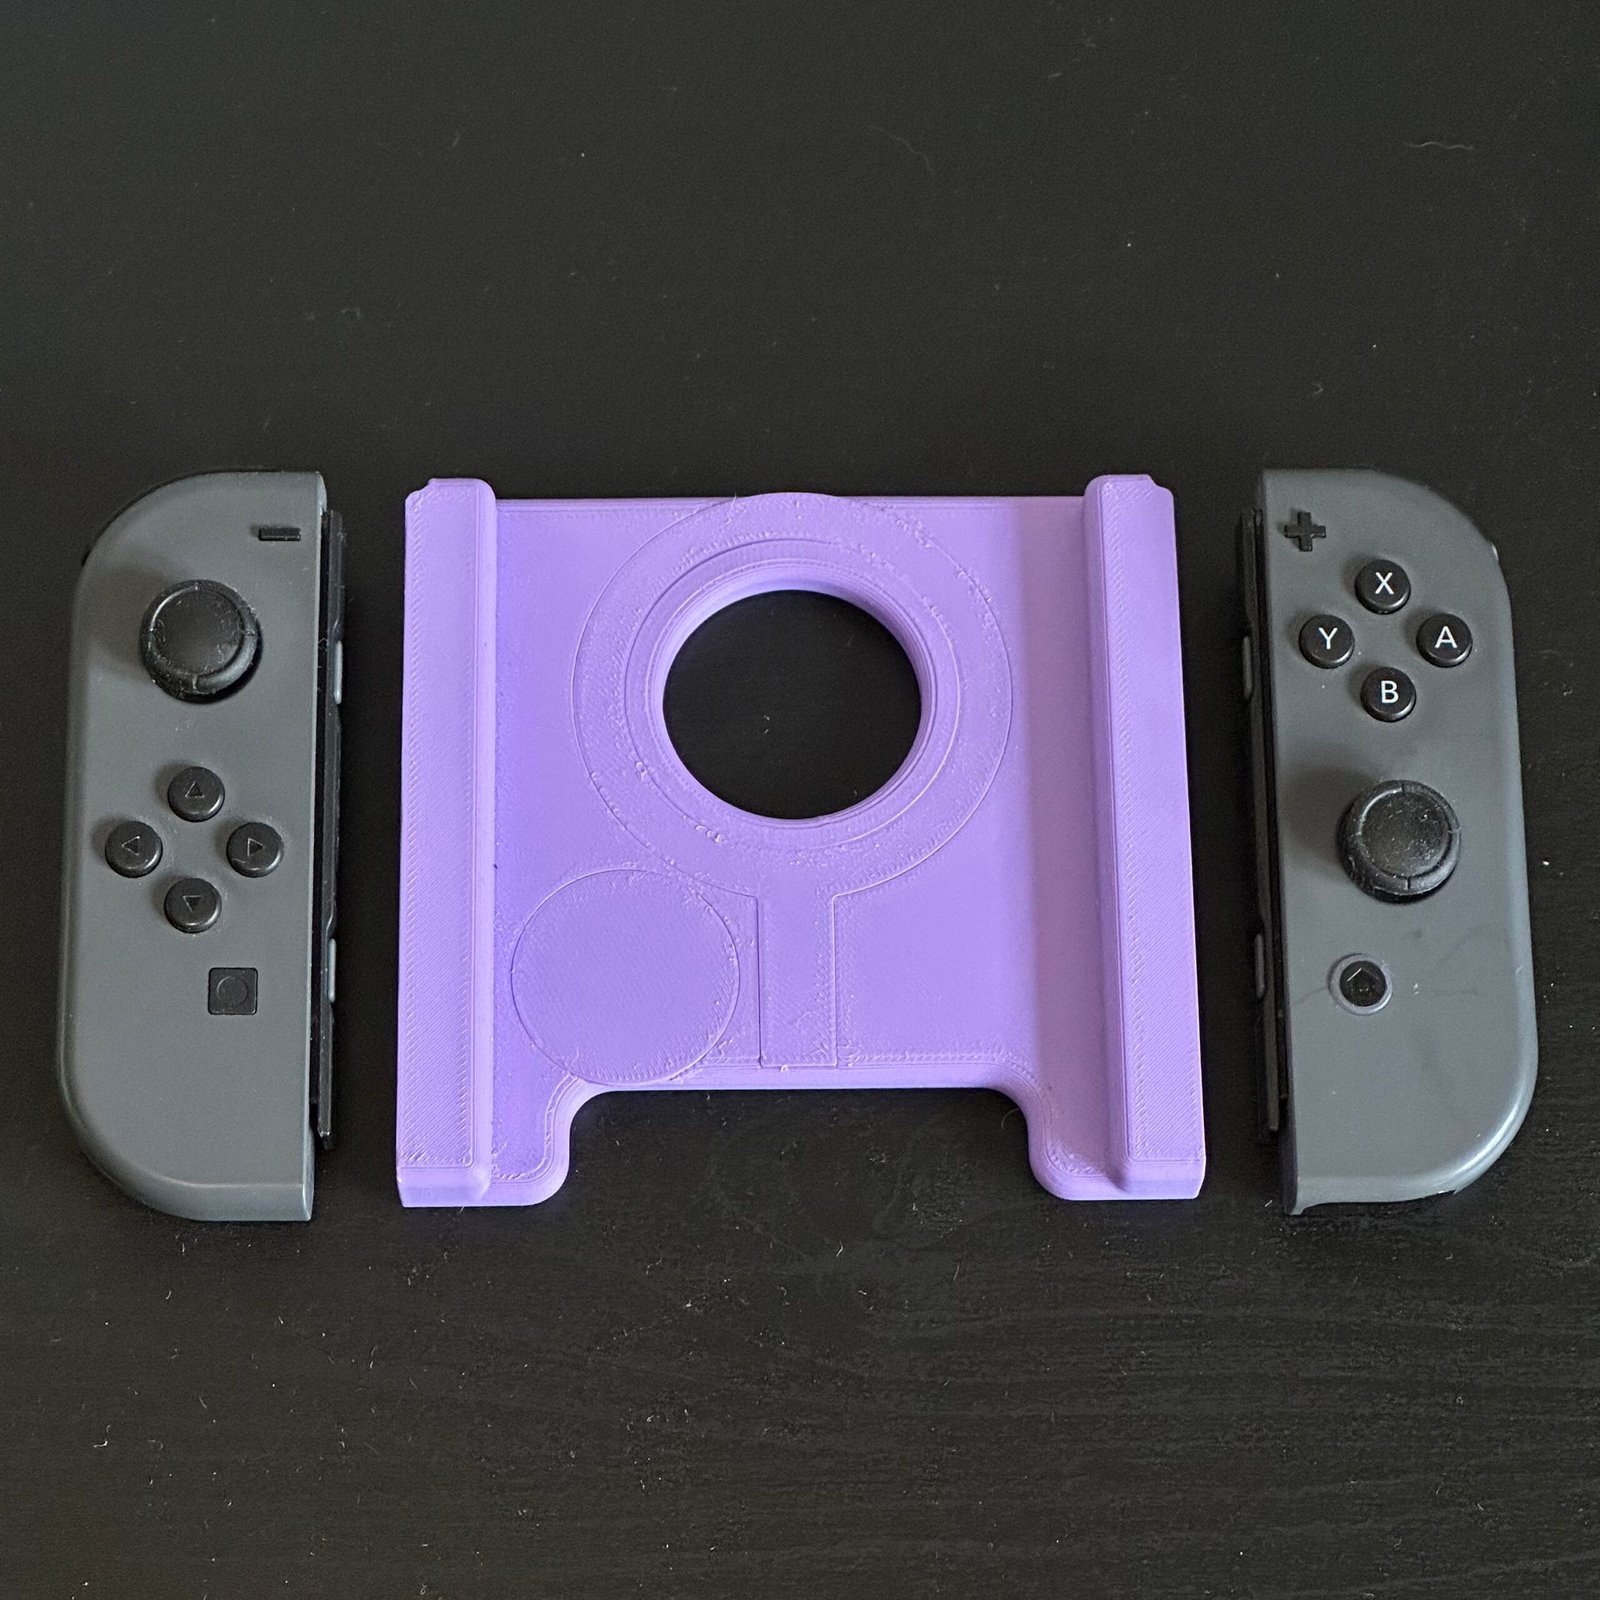
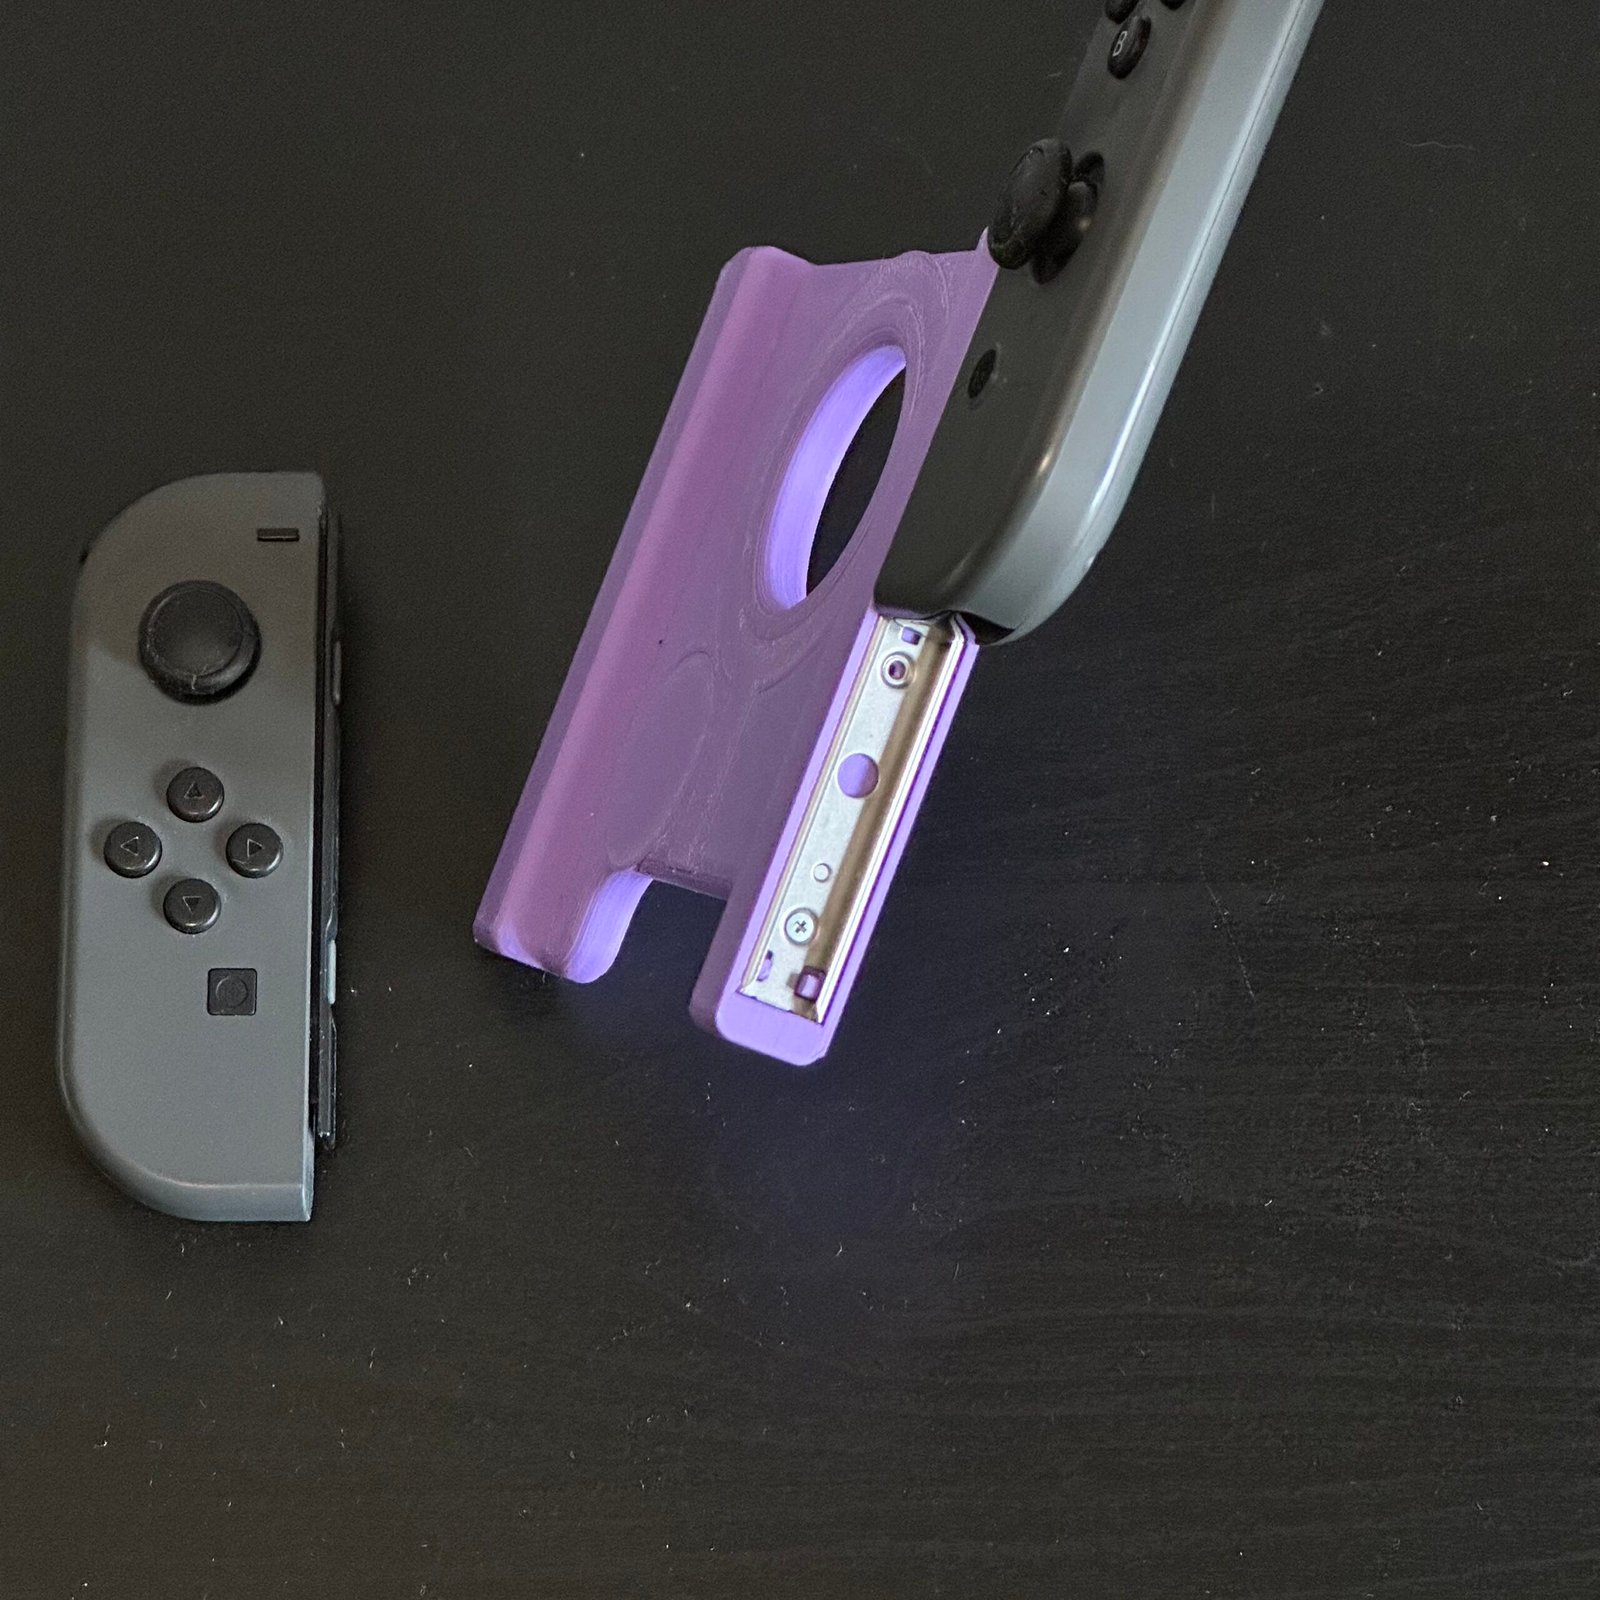
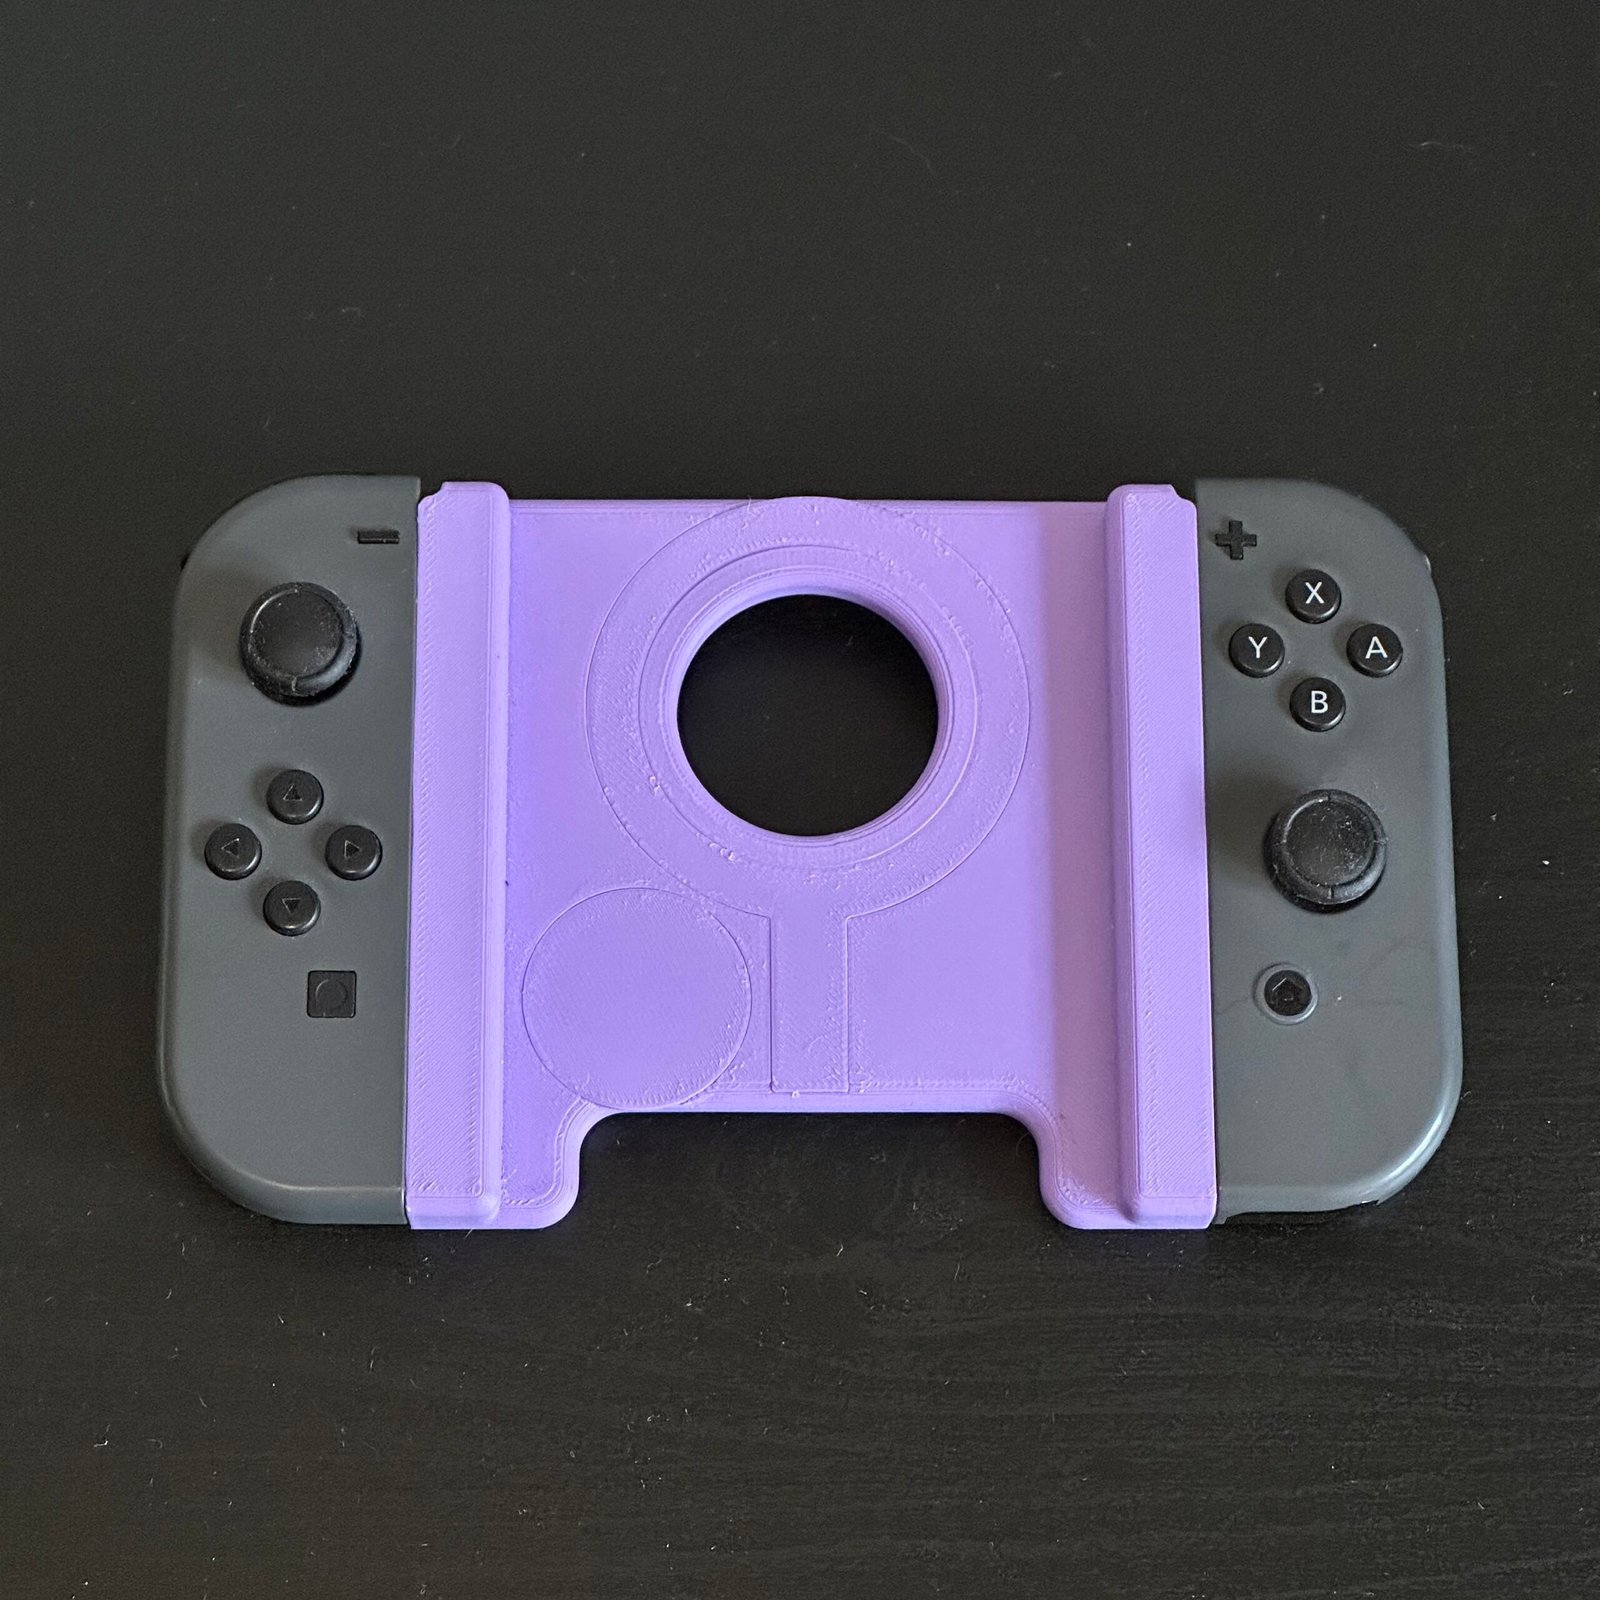
Handheld Console Grip

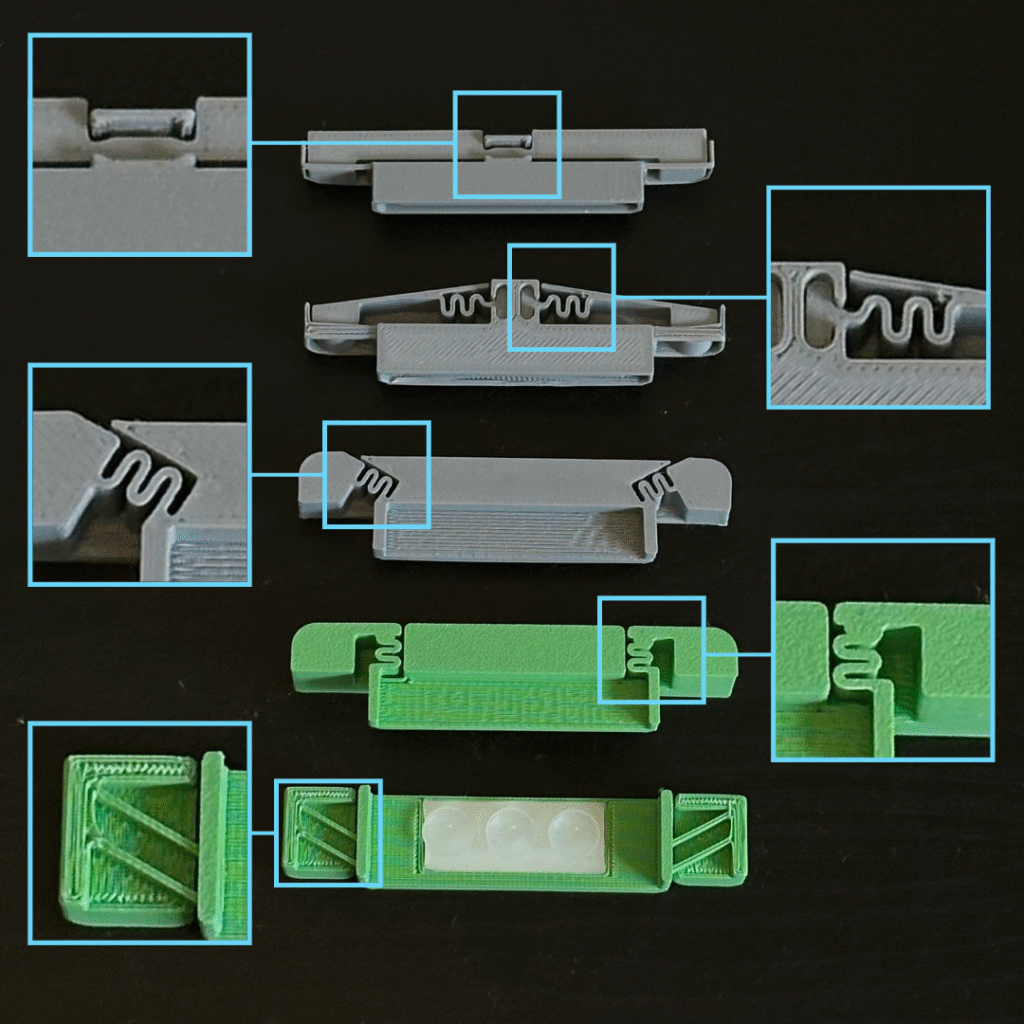
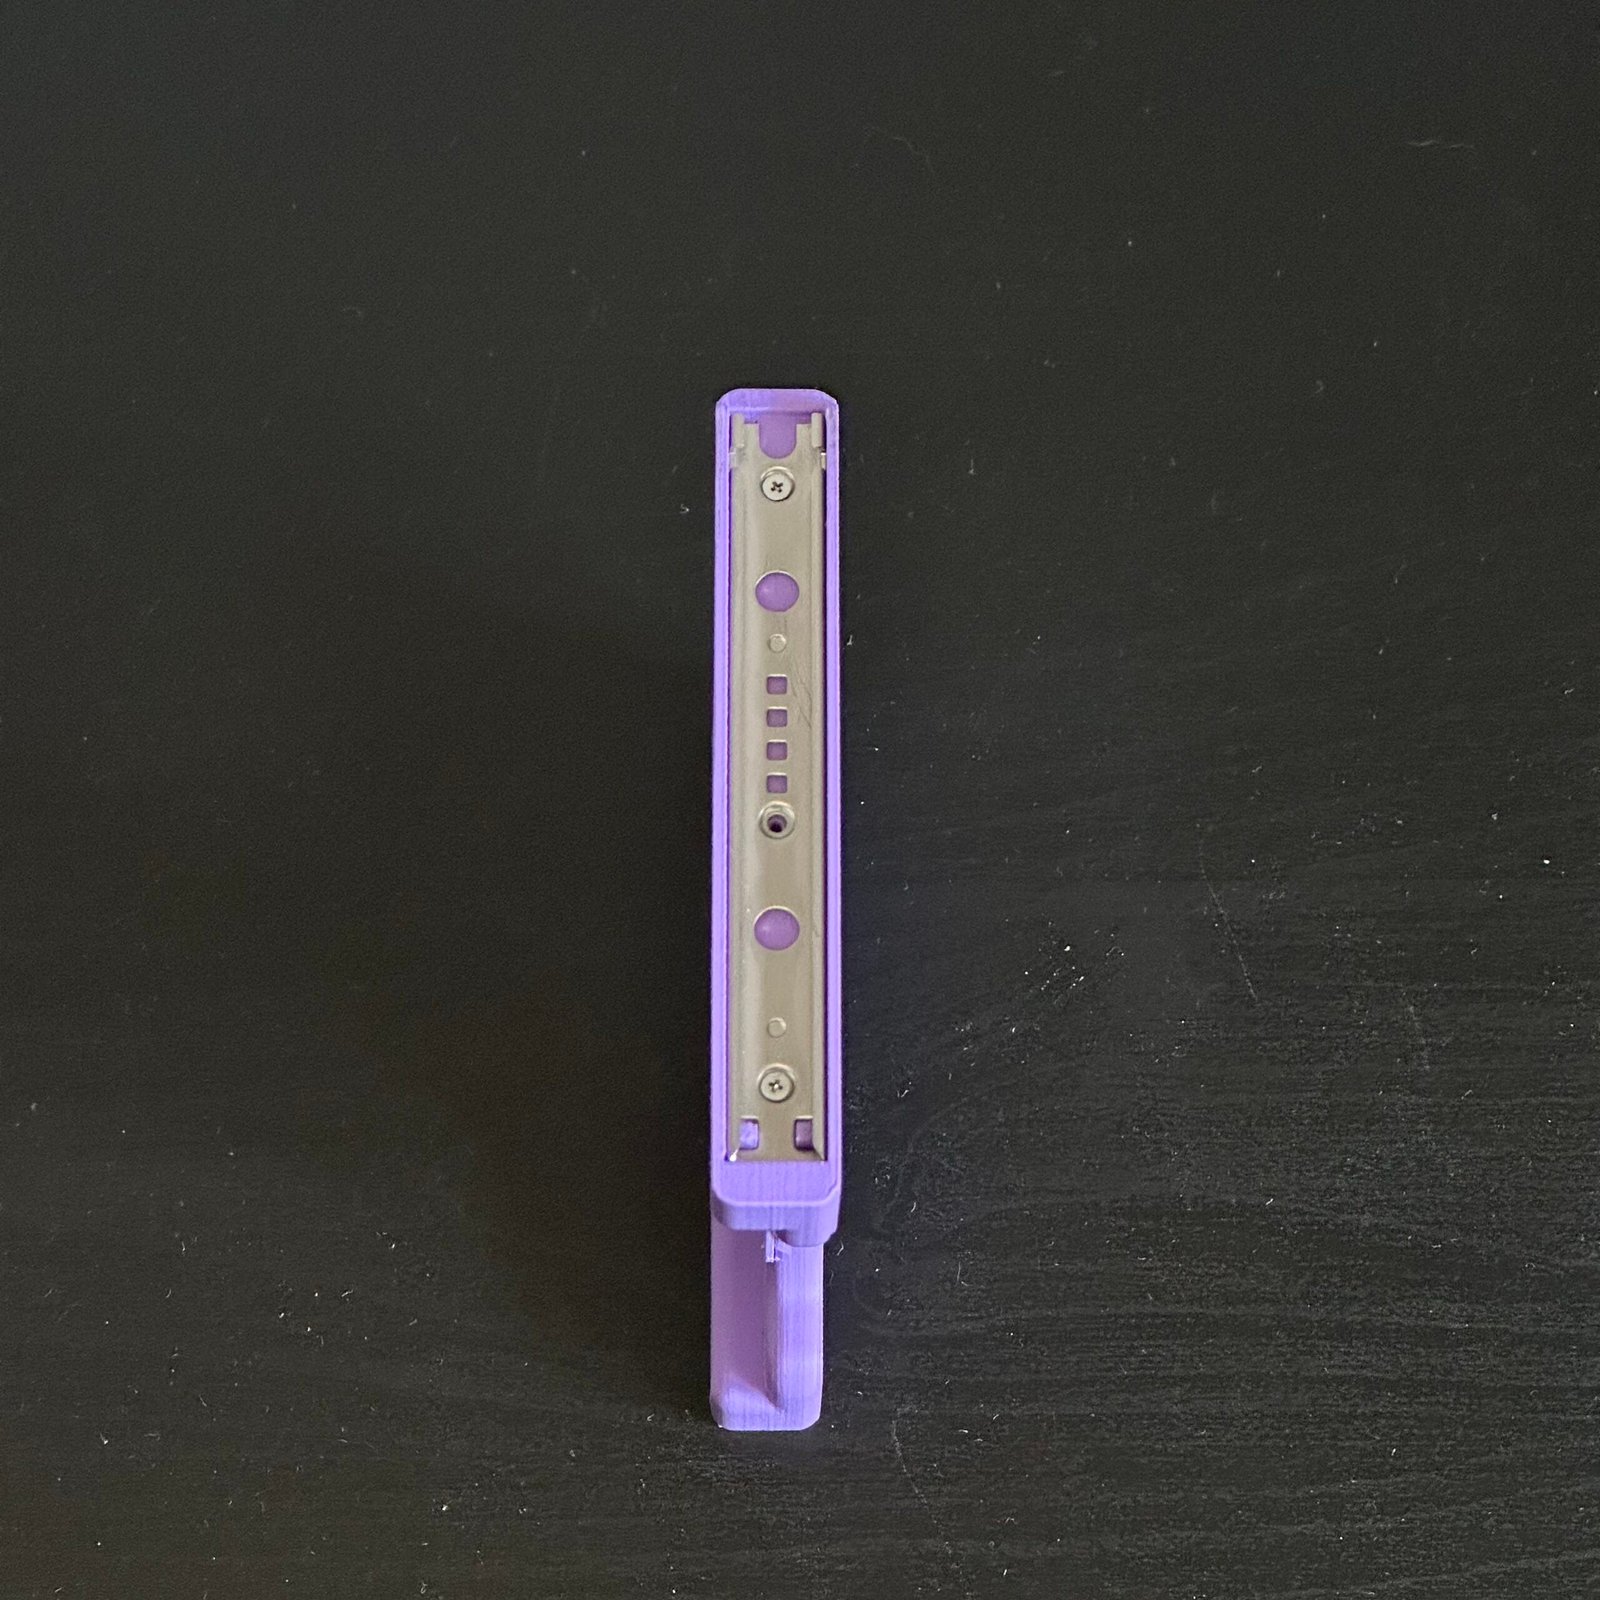
Bumper Button Attachment


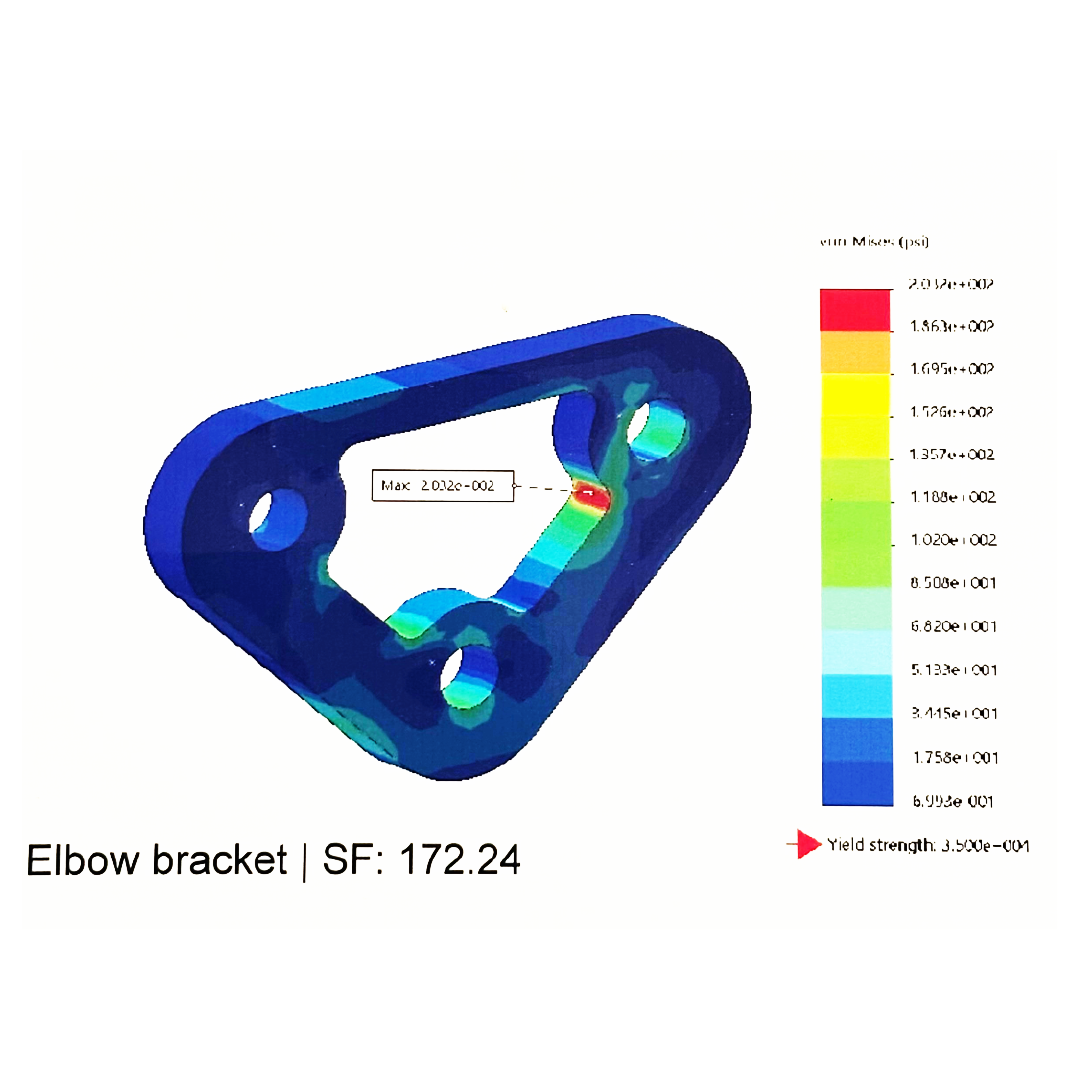
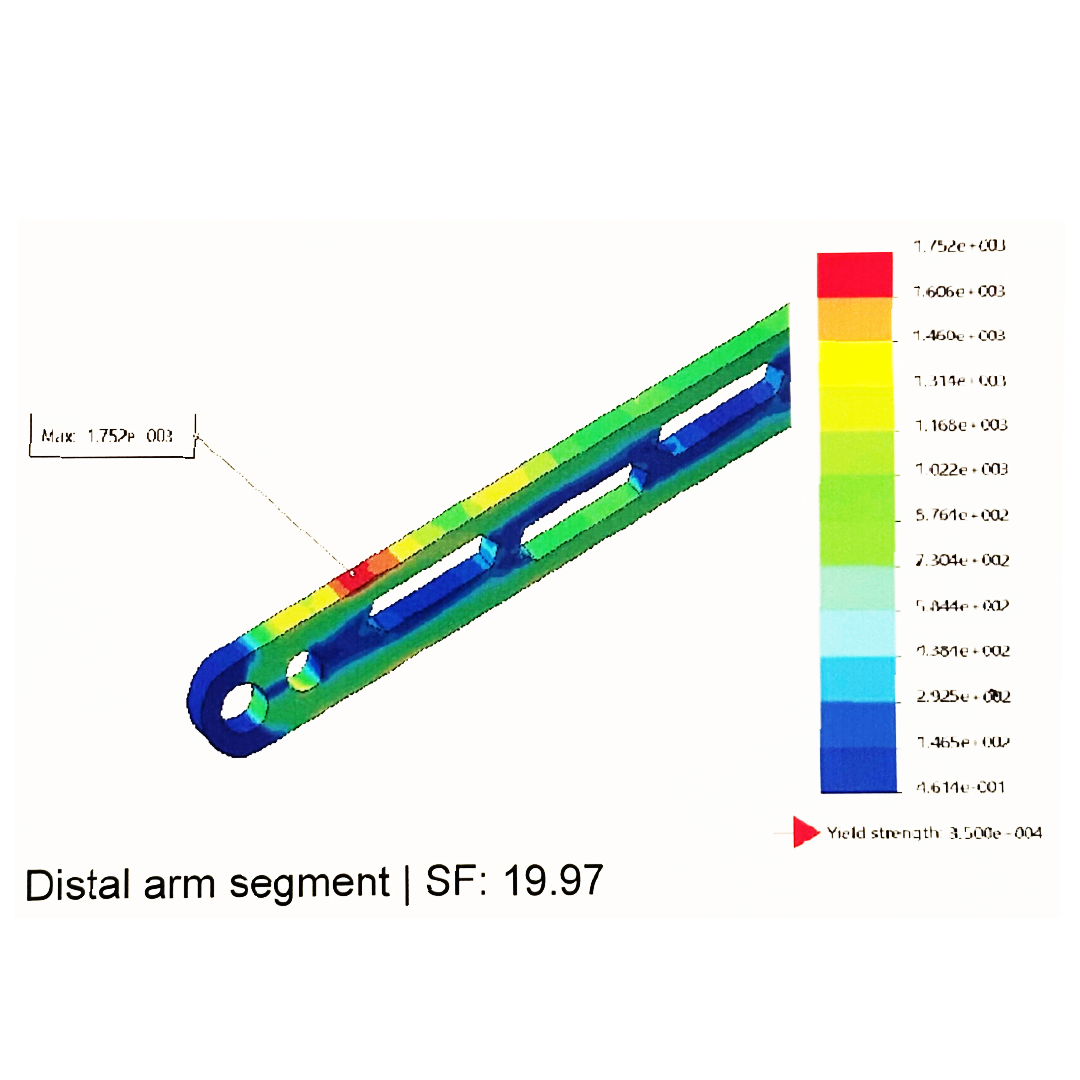
CAD & Simulation


Electronics & Embedded Systems

Programming & Computer Science
Engineering Standards & Drafting